Our Service provider configuration
After doing configuration In Identity provider side (previous page), we need to configure our Service provider to complete the SAML setup.
This article provides an generic example walk-through of configuring an Identity Provider (IdP) in the system .
It is recommended that you or administrators already configuired an IdP from his vendor-specific side before proceeding...
Go to " Dashboard > SAML Service Provider > Identity providers " page
Select your Identity provider, If you don't see your targeted provider listed, choose "Custom IdP" .
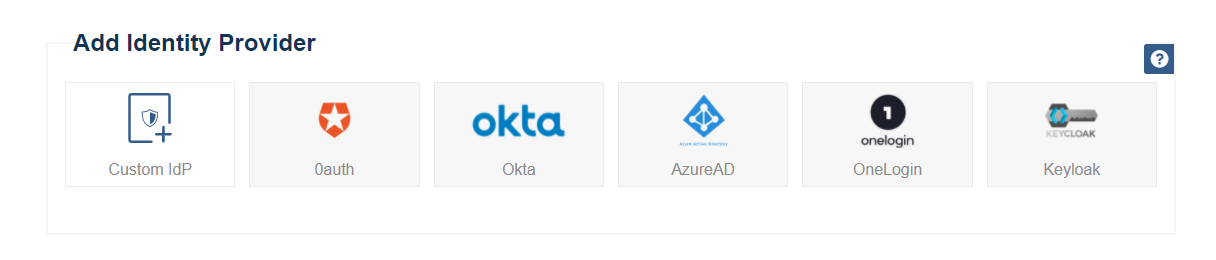
The following values must be provided, and there’s often quite a few of them. but as an administrator you’ll need to provide at least some of this informations:
Name, EntityID, Single Sign On Service Endpoint (Redirect binding) or (POST binding) and X509 Certificate
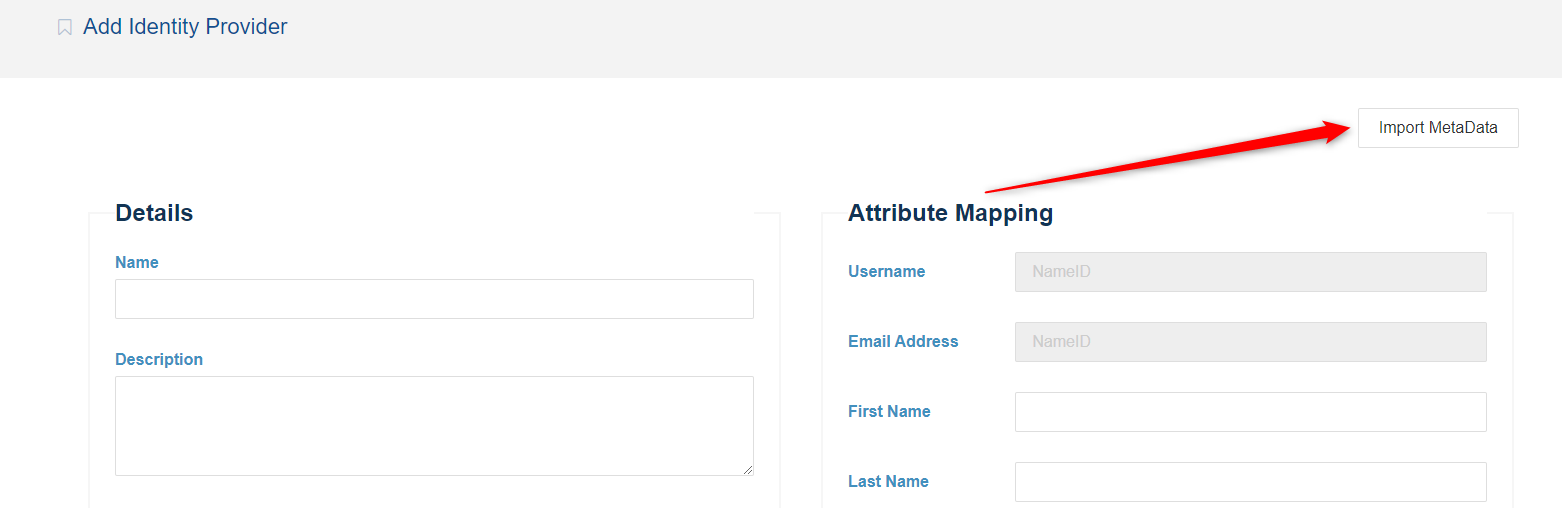
Some Identity providers may offer an Metadata XML document during the configuration process on their sides . This file contains all the information requested in following sections. If you have this file, you can click in Import Metadata button .
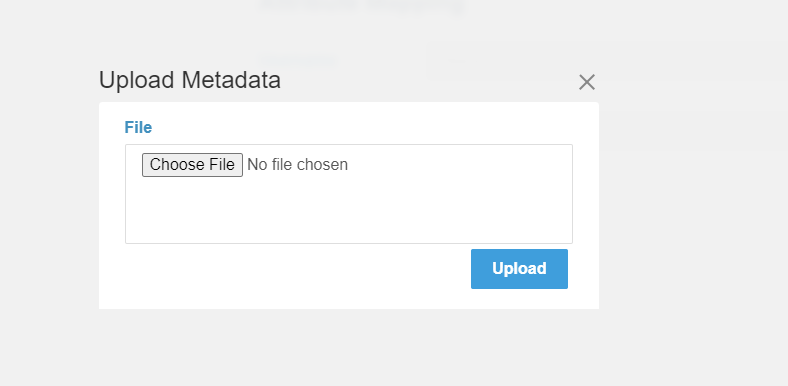
And you can now upload it . Select that file and click in Upload button,
and the system will parse it to populate the required fields in following sections.
Alternatively, You can fill out the required fields from the output obtained during your specific Identity provider (IdP) side configuration.
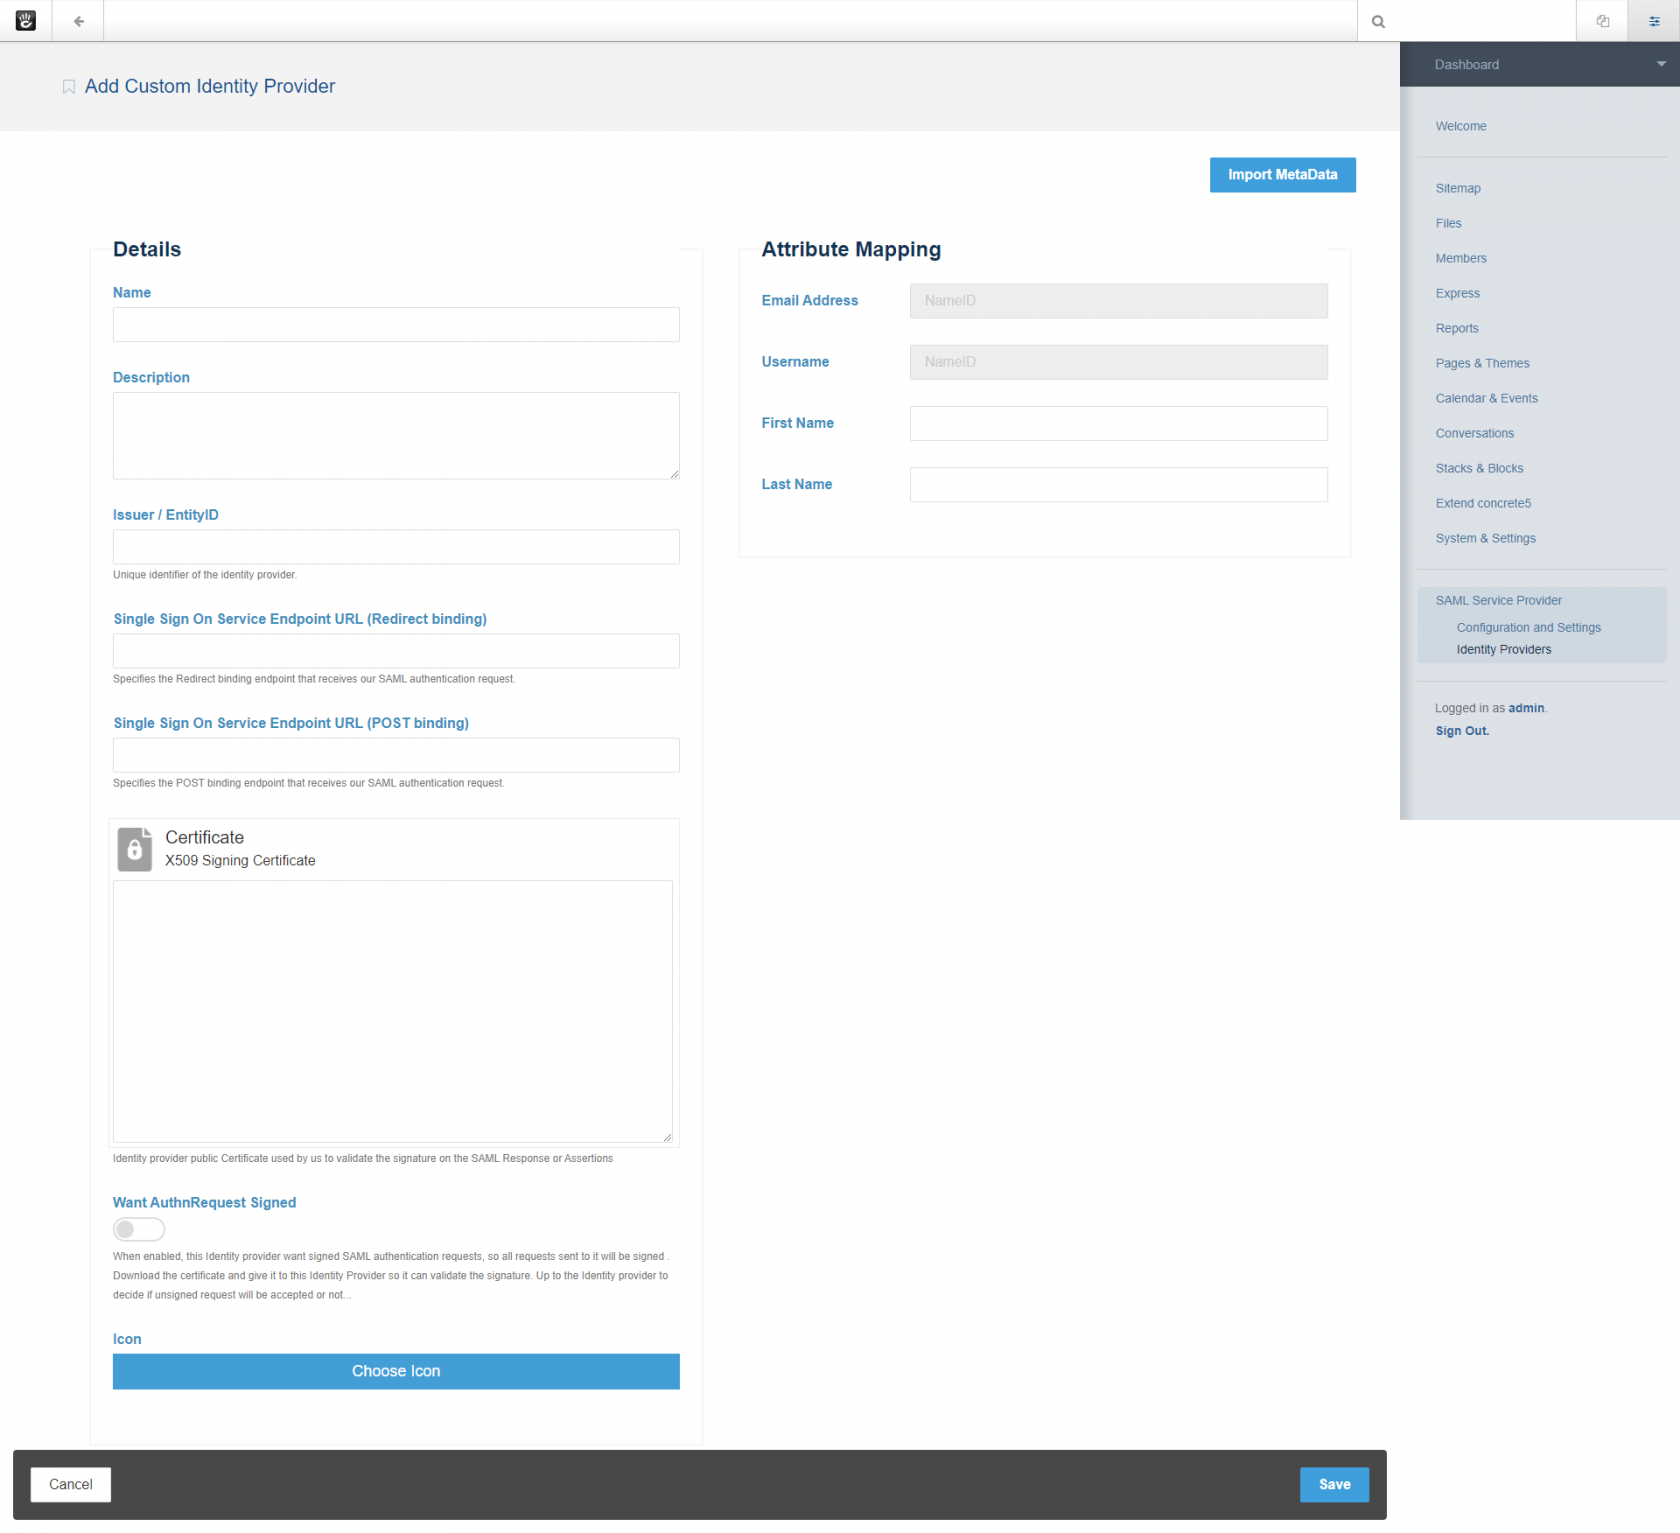
1) Details section
FIELD |
DESCRIPTION |
Issuer / EntityID |
The unique identifier of the Identity provider |
Single Sign On Service Endpoints( POST / Redirect ) |
URL's where our service provider sends a SAML request to start the login sequence .One endpoint URL at least is required (POST Or Redirect ) . |
Signing Certificate |
The certificate that Identity provider used to digitally signe a SAML response / assertion . Our service provider uses it to validate the signature of the SAML authentication response / assertions . |
Want AuthnRequests Signed (optionel) |
Indicate that if this Identity provider want signed SAML request, so all sent requests to it will be signed . |
Name |
The display name of the Identity provider as a reference |
Description (Optionel) |
Short description of the Identity provider. |
Icon (Optionel) |
Image reference of the Identity provider |
Request Protocol Binding of your Service provider configuration (See Configuration and Settings page) use one of this endpoints according to selected binding .
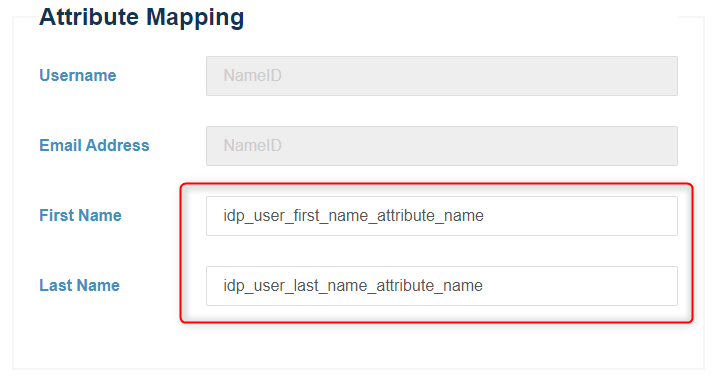
2) Attributes Mapping section
Sometimes the names of the attributes sent by the Identity provider does not
match the names used by user for the ConcreteCMS accounts. In this
section we must set the mapping between IdP fields and ConcreteCMS fields .
So this feature allows you to map user attributes sent by the IdP during SSO to the user attributes (first name and last name) at ConcreteCMS .
Fill out mapping fields (First name , Last name) by attributes names obtained during the Identity provider side configuration.
Every attribute must have its own unique representation in a SAML attribute assertion to ensure that there are no misinterpretations or miscommunication. Thus, SAML exchanges rely on consistent attribute naming to deliver information about users in a way that is mutually understood between the IdP and SP. This attribute name must be expected and handled by relying parties.
As a best practice, users should use their emails as the primary connection ID to log on via the SAML plugin because it is always a unique value. While users can be configured to use other attributes such as their first name or last name, these may not always be unique values within an organization.
Configure your IdP so that the NameID specifies an element to identify a user. We recommend using Email as user Identifier .
Note that we automatically use NameID value sent by the Identity provider as Email address , and to generate Username
We fetch users from both Email Adress and Username and if in both cases the user is not found, a new user is created (If JIT provisioning option is enabled)
Note that if First Name / Last name inputs are empty we ignore mapping them .
Note that if ConcreteCMS user account doesn't have predefined ConcreteCMS User Attributes with Handle "first_name" and "last_name" otherwise attributes will not be added and the provided Info ignored . Visit this ConcreteCMS Doc to mannuely add them as an Administrator .
If the configuration is set up correctly . Save your changes by clicking the Save button in right bottom of your page.
Cancel your changes and go back to main "Identity providers" page by clicking the Cancel button in left bottom of your page.

And at this point, you have successfully configured an Identity provider in the system.
The new SAML configured IdP is added to your Configured Identity provider list
in " Dashboard > SAML Service Provider > Identity providers " page .
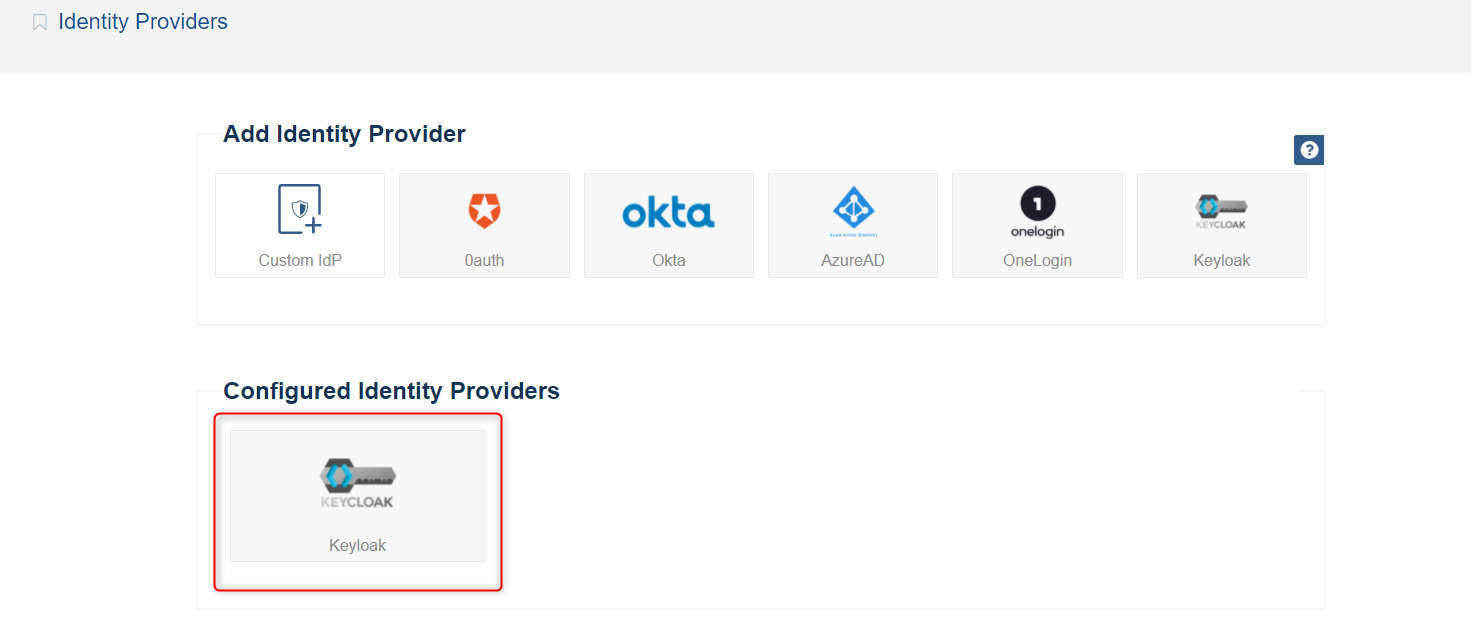
When you've set up a IDP, you can update the settings for it by clicking it .
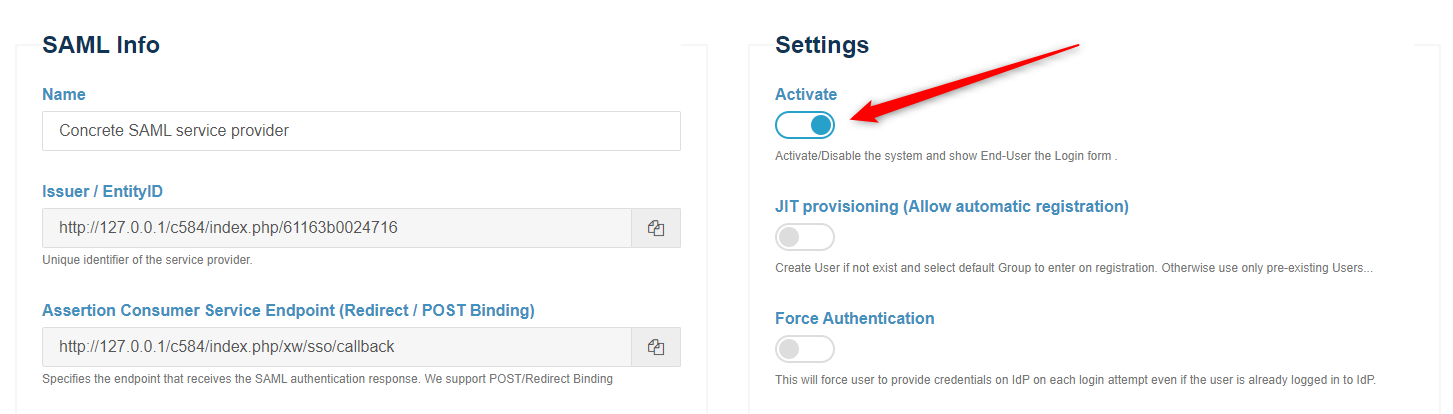
We need to assign this Identity provider as the active one in the system .
Navigate to " Dashboard > SAML Service Provider > Configuration and Settings "
Go to the bottom of Settings section and select your configured identity provider (from step above) appeared in the configured IdPs list .

Save your changes by clicking the Save button in right bottom of your page.
And at this point, you have successfully activate your Identity provider in the system
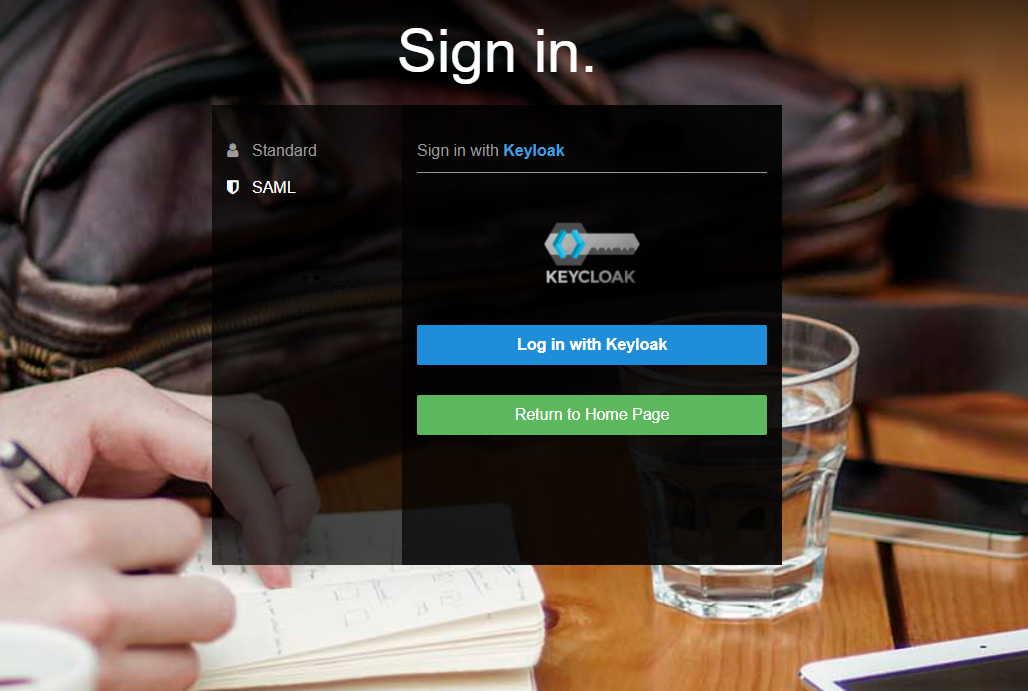
Click Activate and Save to show your End Users the Login form .
You should now able to see a ‘SAML’ option in the ConcreteCMS login screen . This will redirect users to login to the Identity provider instance for their username/password and will create a new ConcreteCMS user account with chosen group (If JIT provisioning option is enabled) .
Once you've completed the setup steps, it's important to test to make sure everything is working properly.
You did it! Your ConcreteCMS Website is configured to provide SAML SSO services. Your users may sign in to your website with the username and password stored by your SAML 2.0 identity provider.
If errors are presented, ensure that all necessary fields have been correctly populated .
Double-check your steps. If you are still having trouble . first check the configuration of your service provider in your side and the identity provider from it vendor side . Also check Troubleshooting && FAQ page to inspect the ConcreteCMS logs.