Send
As an email marketer, one of the worst, most stomach turning moments is realizing you sent an email out to thousands of subscribers with a mistake in it or left out a crucial piece of information or you send to the wrong mailing list.
That means testing everything: design and layout, subject lines and mailing lists. Consider testing emails with different test mailing lists and experimenting with email send times, too.
We recommend sending a test email of the campaign to yourself . This way, you can double-check your campaign and be 100% sure that it's ready to go to your contacts.
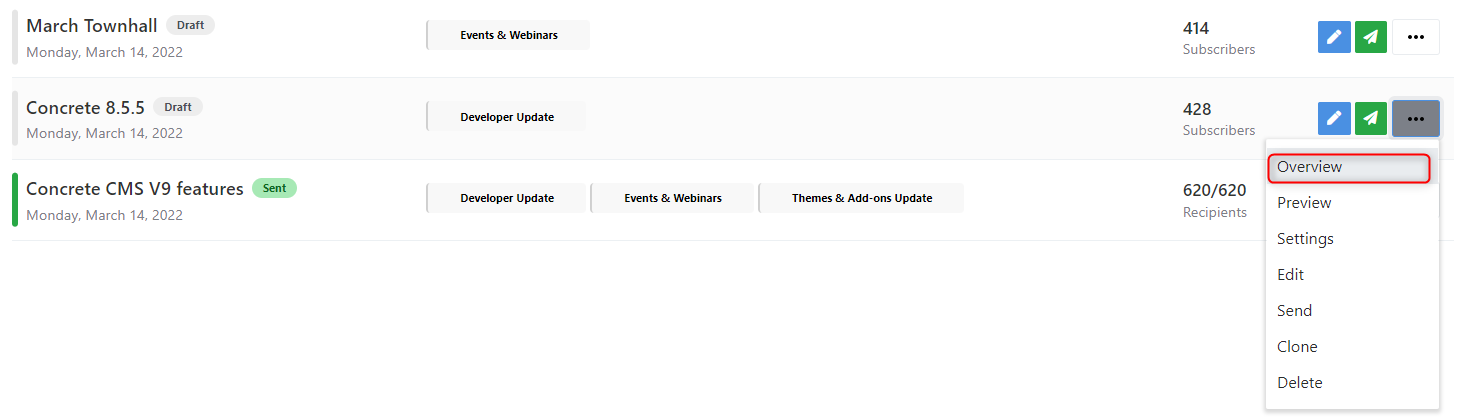
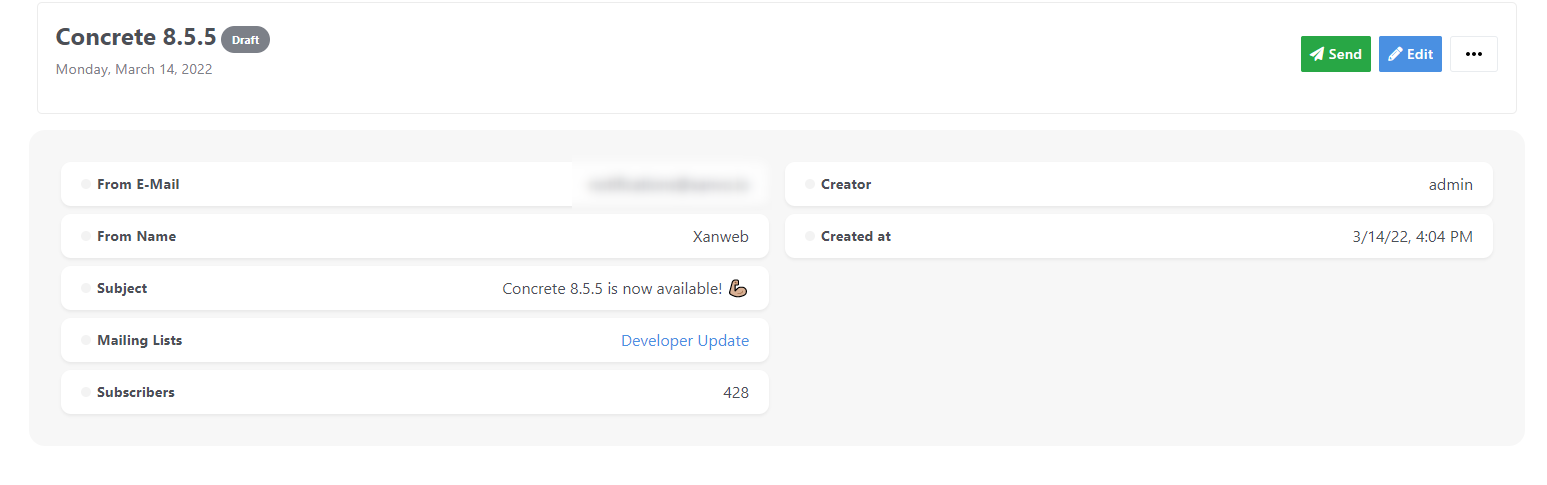
Click on 'Overview' button in the campaign toolbar menu to see an overview of the campaign.
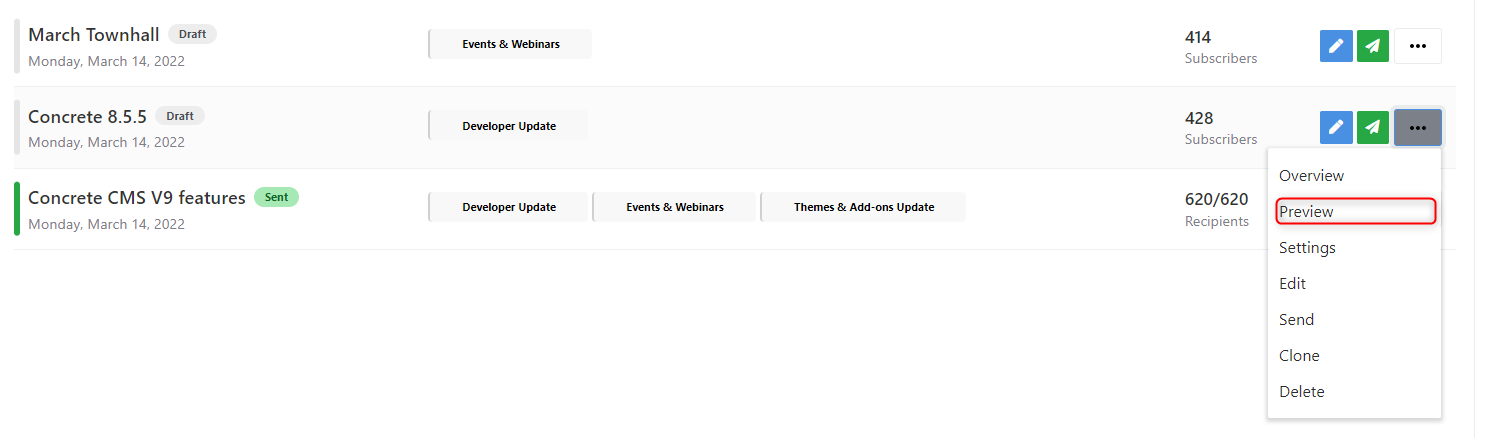
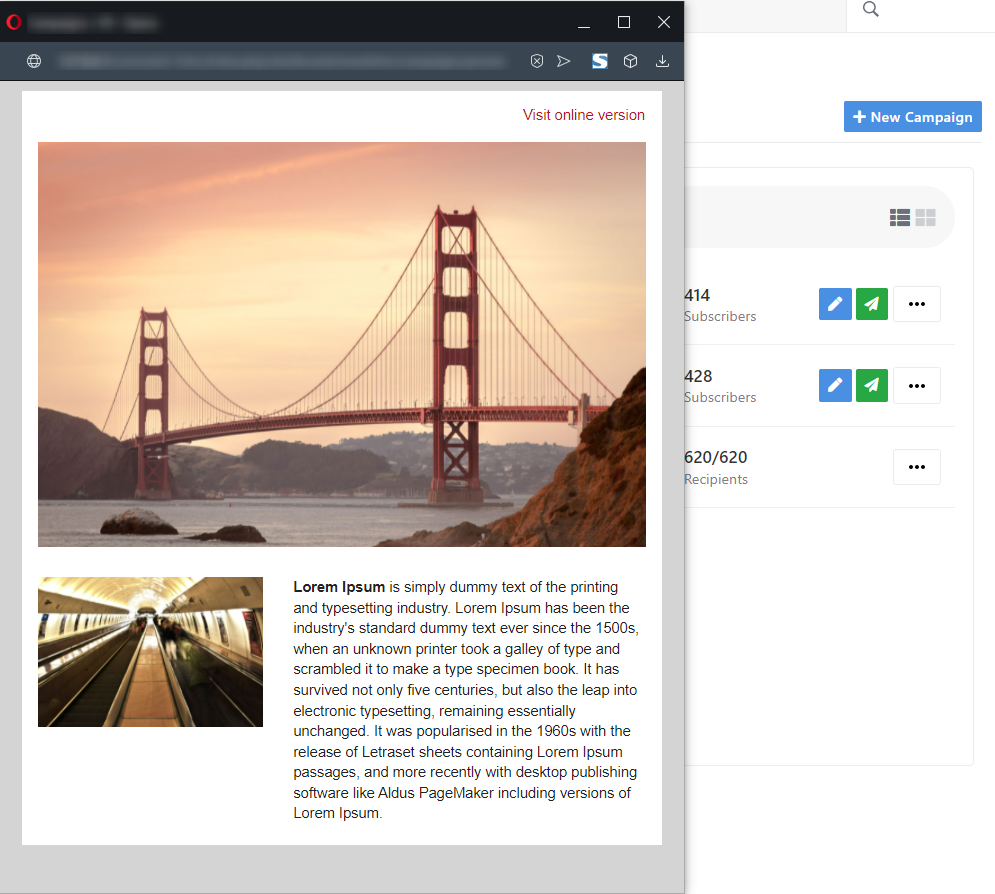
While the Page Editor screen gives you a good indication of what your email will look like, it's good to check your email in the preview mode before sending. Preview mode also gives you a view of what your email will look like on a phone. You can activate the preview mode by click on 'Preview' button in the campaign toolbar menu.
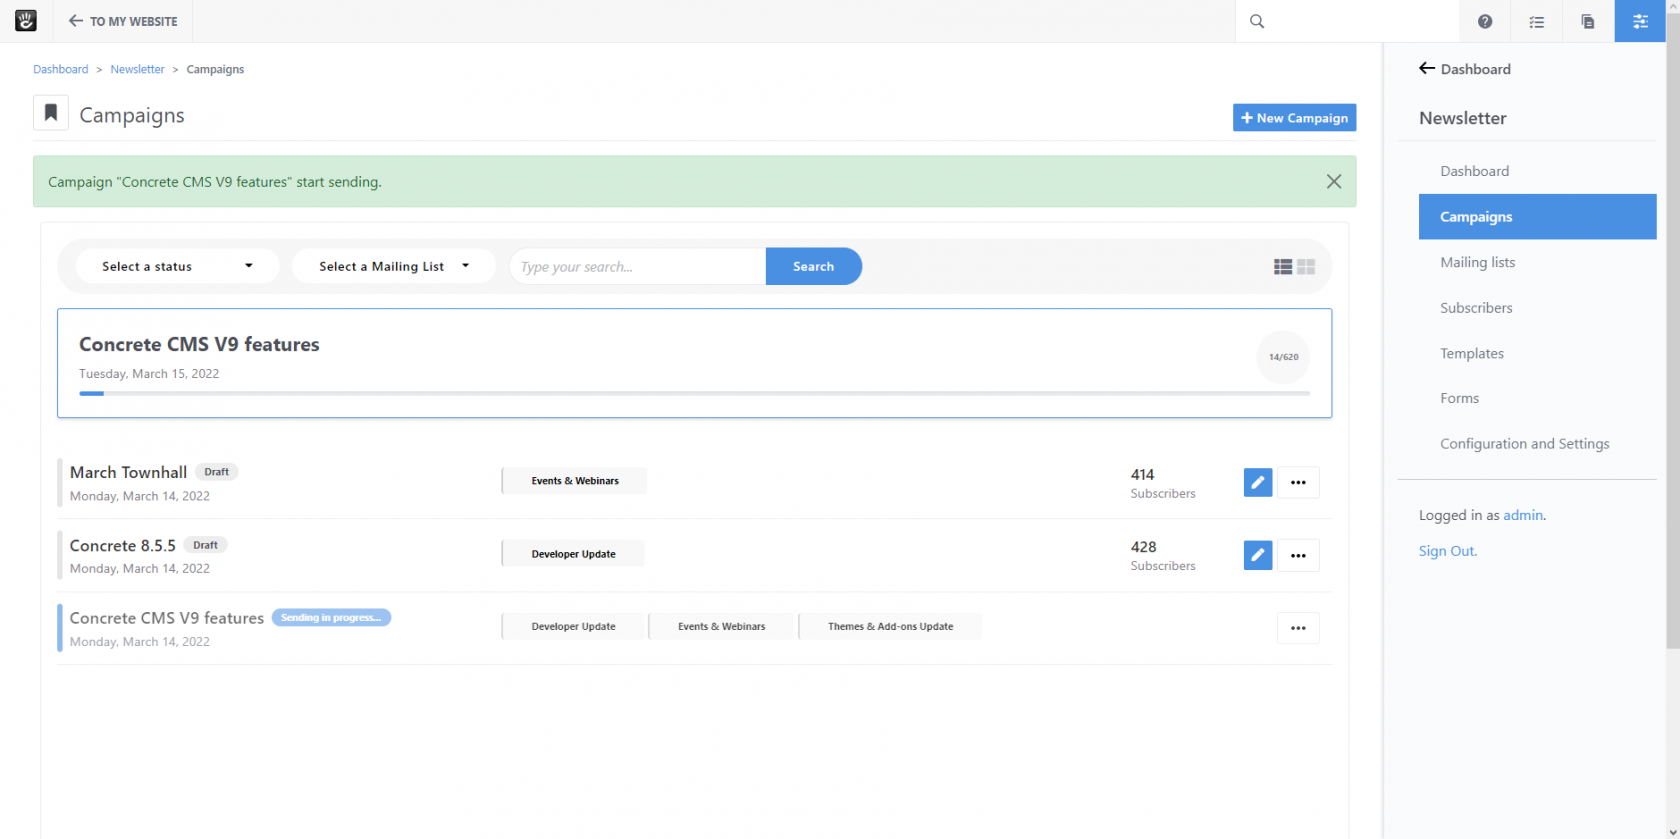
To view which subscribers were included or excluded from the campaign , click subscriber number included in the campaign displays line.


Make note of the expected recipient count : this estimate removed duplicate emails, excluded subscribers, and suppressions.
Now that you’ve created your email, tested it, revised it, and double-checked everything, it’s finally time to send!
Click the send icon in the right.

This will start sending the campaign email to all mailing lists subscribers.
You’ll want to make sure that you’re sending at the most optimal time.
If you are sending a large number of emails it’s best to use the Rate limiting feature. This will send your message over a period of minutes/hours and will help protect your Sender Reputation.
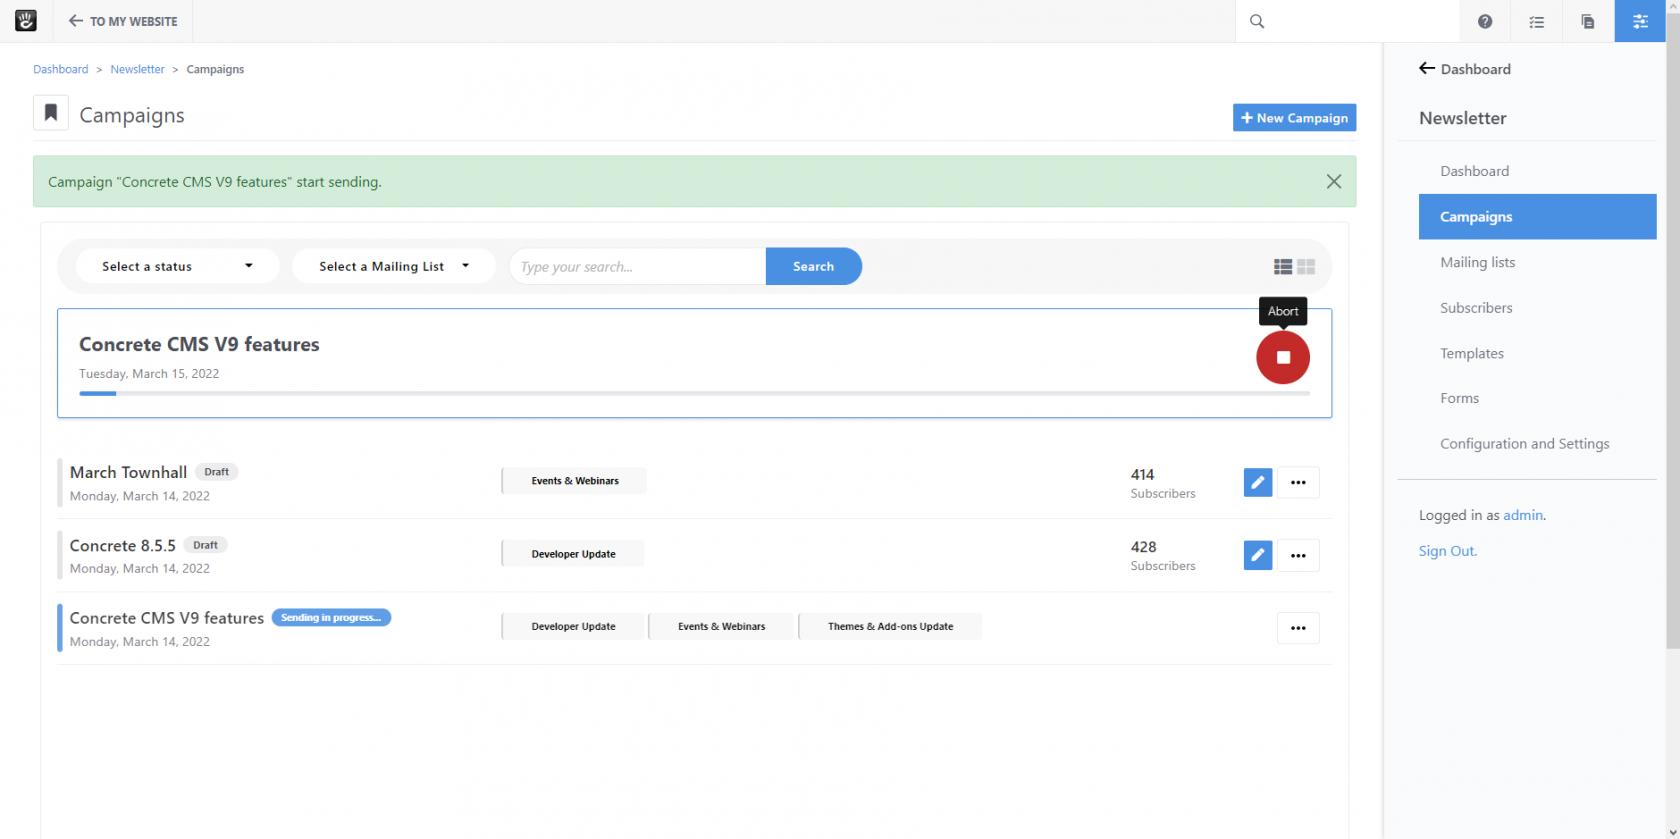
After the campaign is start sending , you can see a real-time progress of the email's sending.
Your email can be stopped after it's sent. you have the option to 'Abort' sending for emails after they've begun sending.